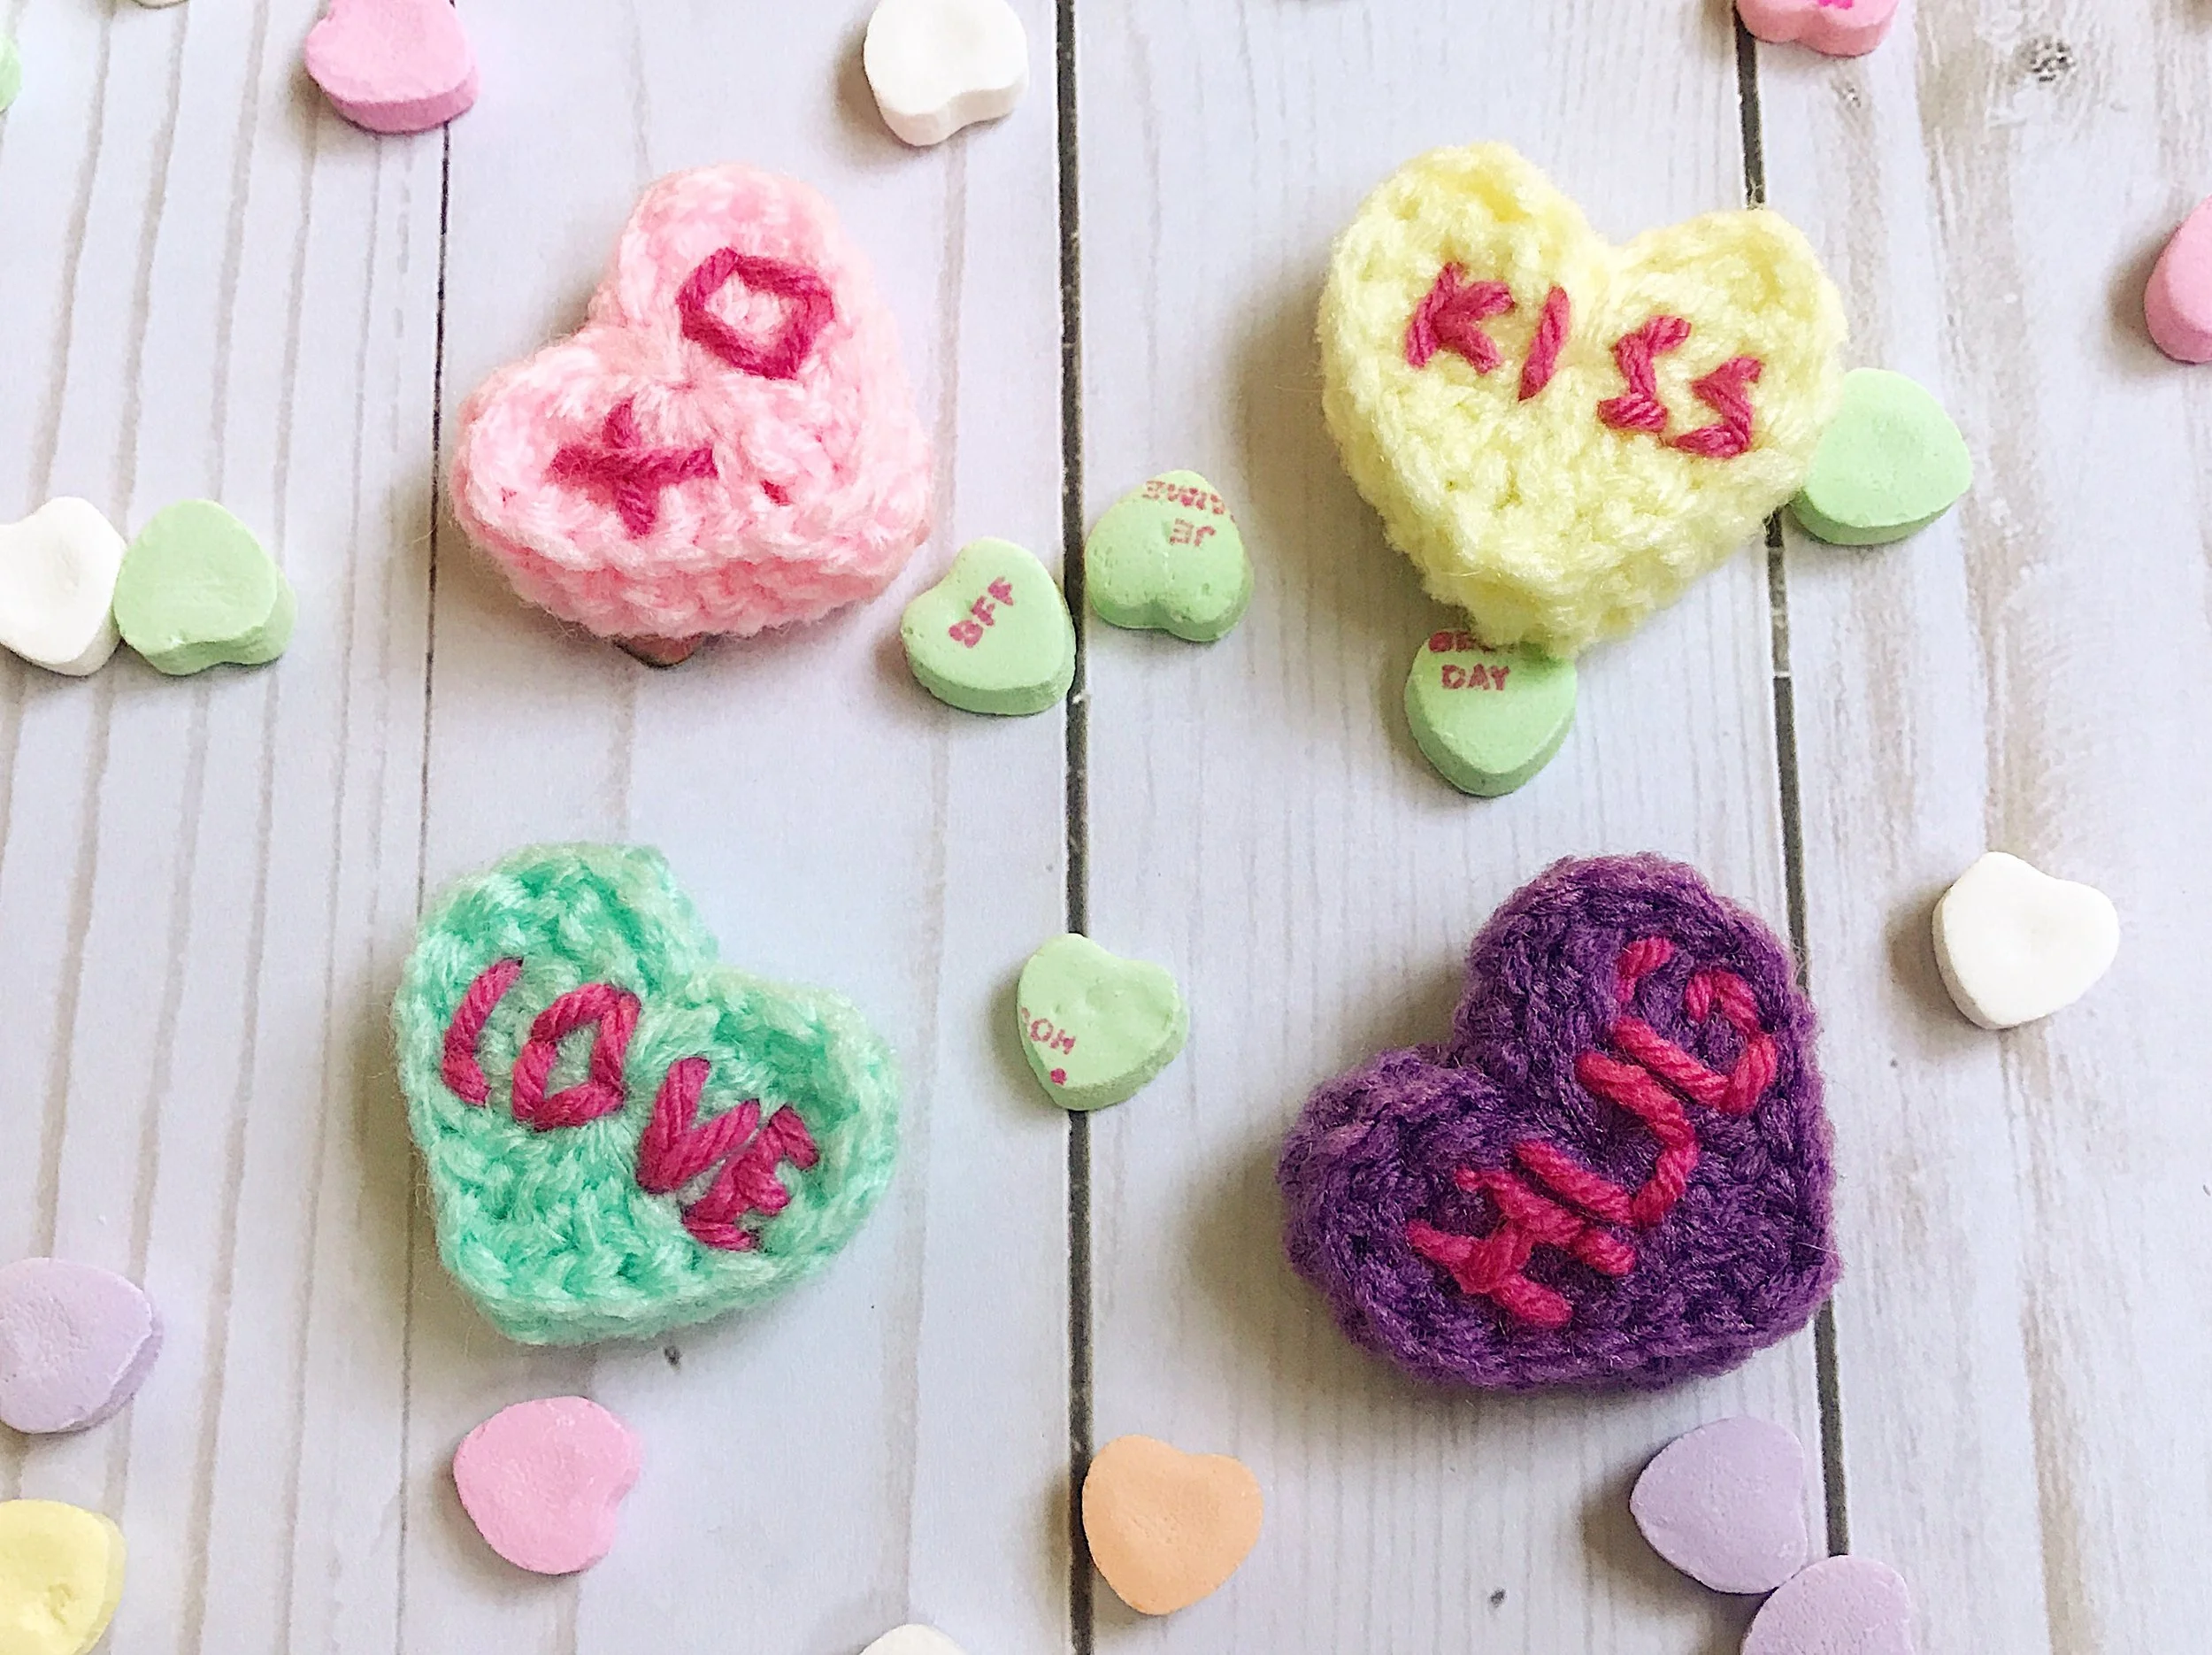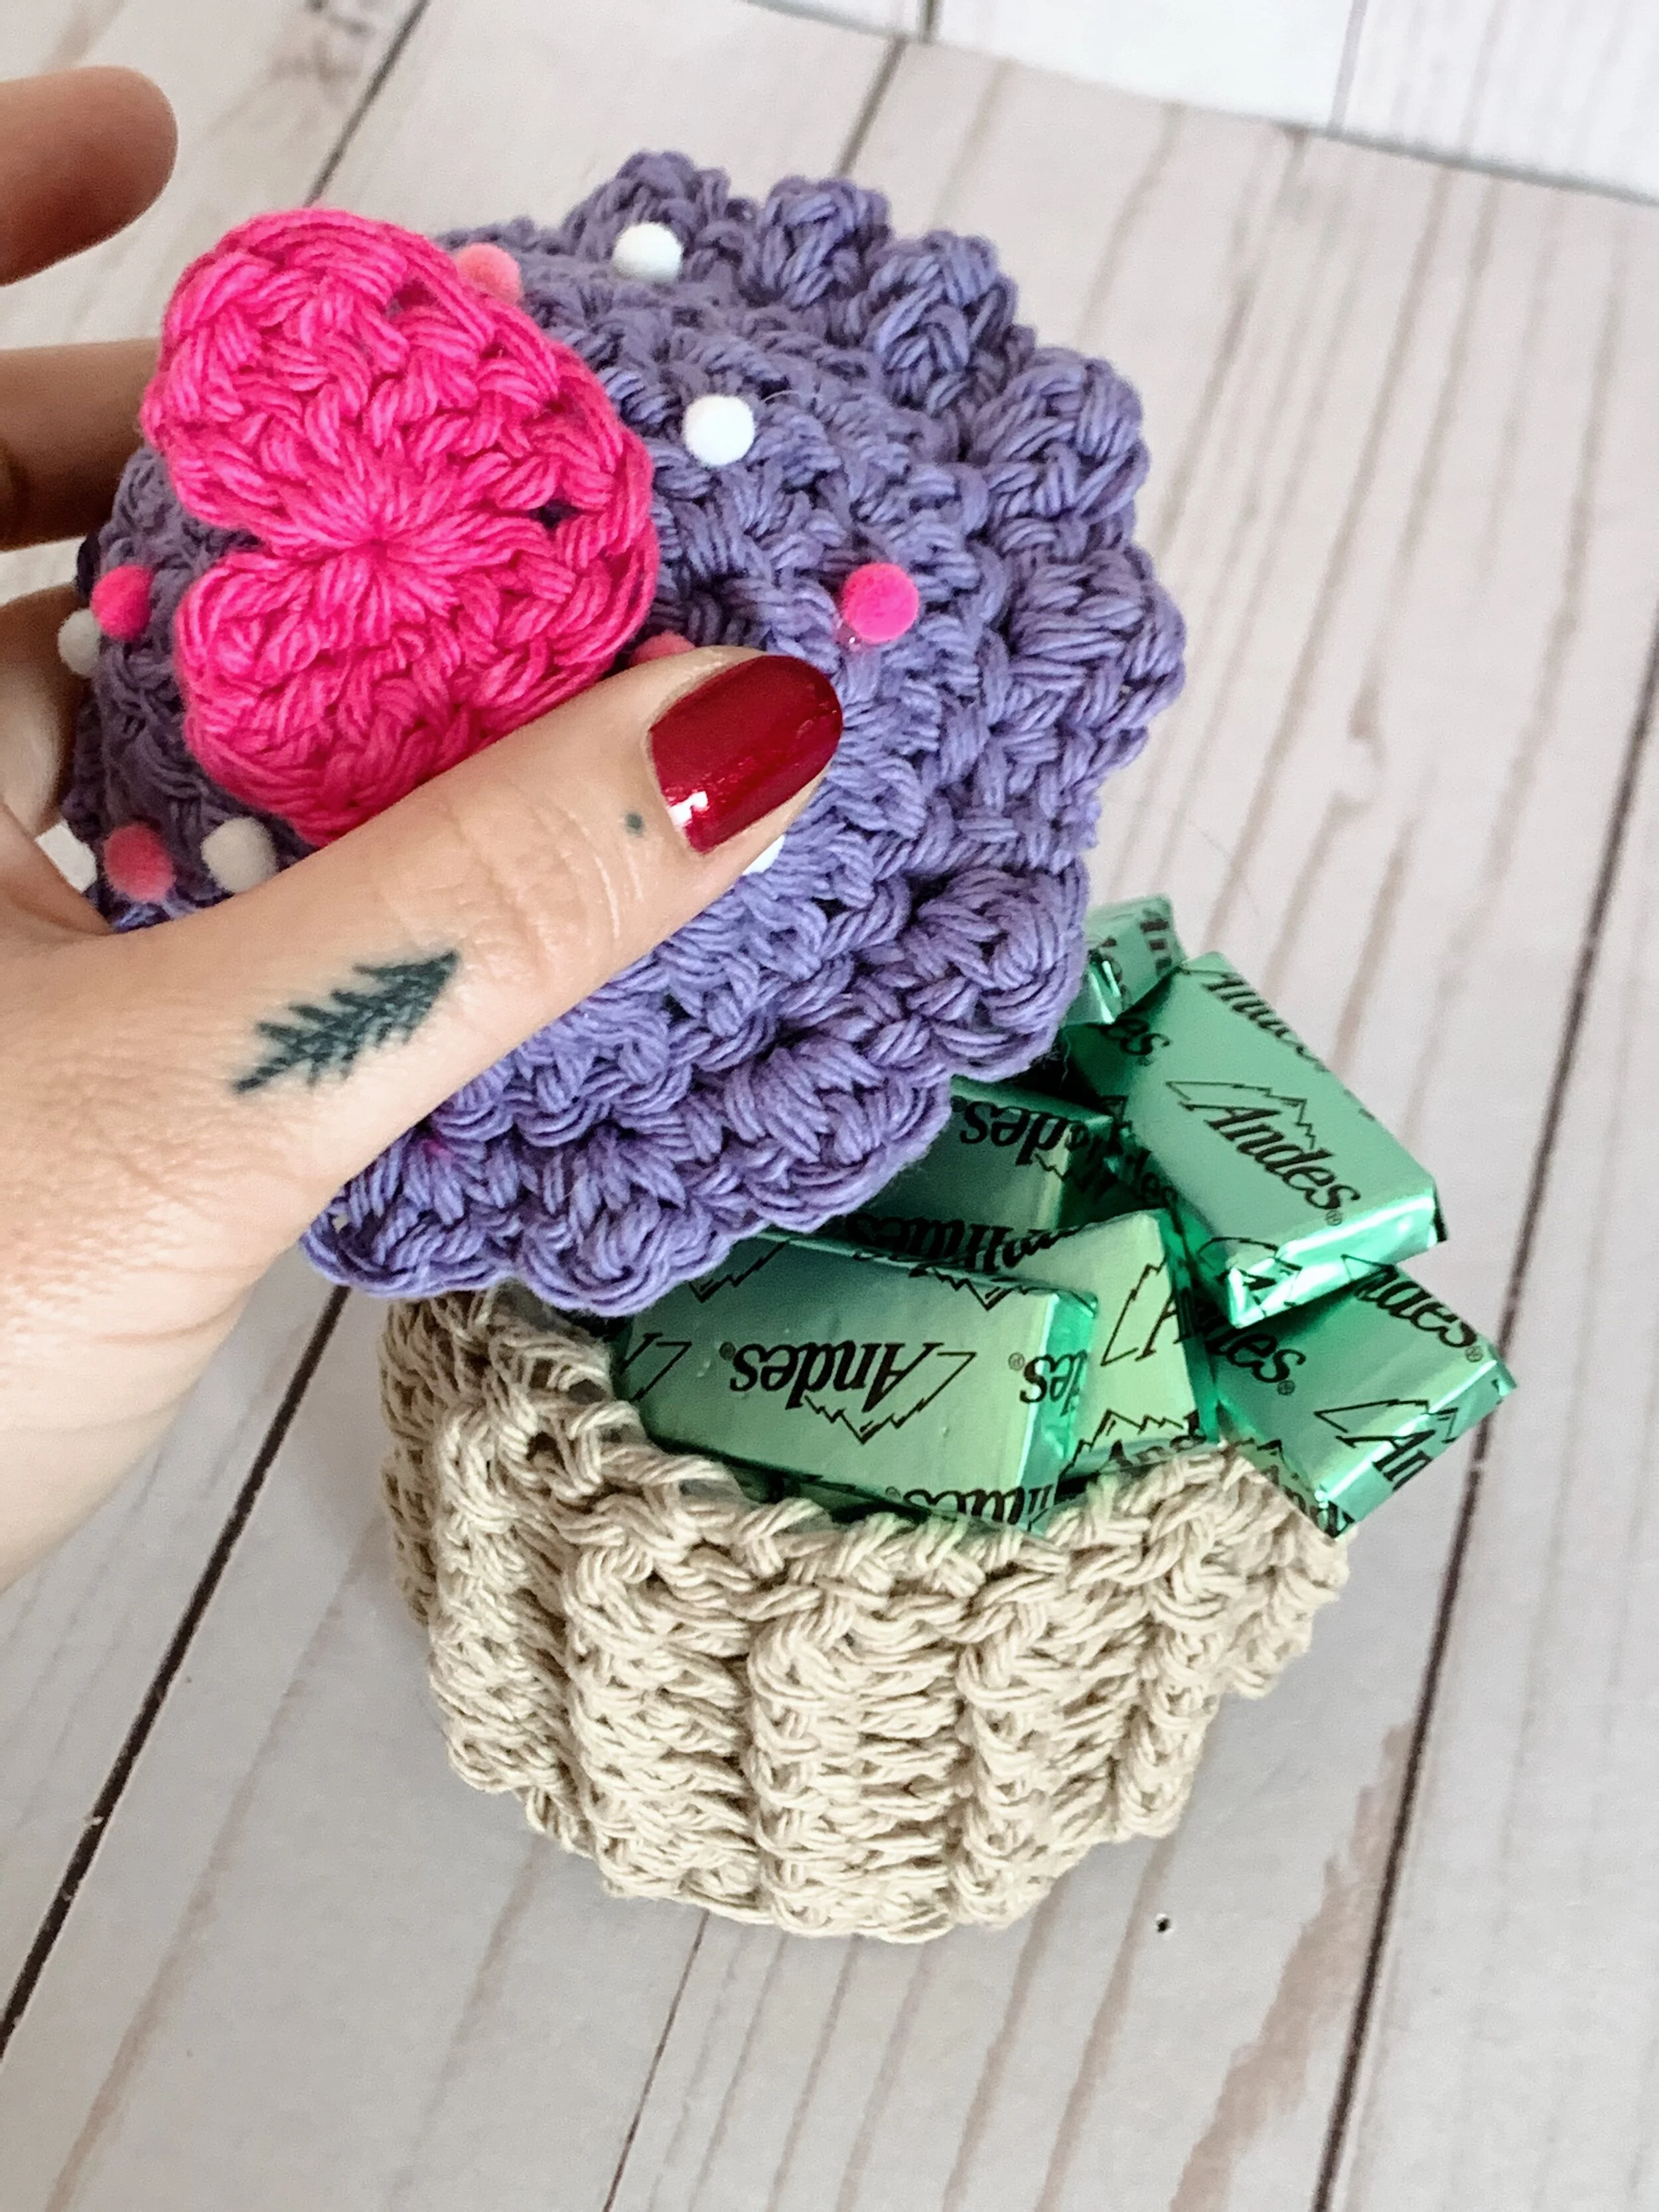
Be Mine Cupcake Candy Dish
I wanted to create something different that wouldn’t just get tossed the second Valentines Day was over. Once you devour the chocolates inside, or flaunt the jewelry contained within, it become whatever you want. Need a jewelry box, gift box, candy dish, candy dis for work, need something to store your buttons in…. this is it, maybe! The point is, its cute and functional!

I used cotton yarn for this project so that it might be a little sturdier.
Materials Needed:
You will need a tan or brown color yarn for the “cake” or red if you’re going for a red velvet vibe, then whichever color icing you would like and whichever color heart you would like.
-I used Sugar N cream cotton yarn in tan, purple and pink.
-Plastic Embroidery grid
-5mm hook H/8
-Yarn needle
-Scissors
-Polyfil stuffing
-Tiny Pom Poms
-Glue (I used hot glue)
Abbreviations:
CH- chain
SC-single crochet
DC-double crochet
TRC- treble crochet
SL ST- slip stitch
FPDC- front post double crochet
BPDC- back post double crochet

Let’s get started
Bottom:
Using Tan and 5mm hook
Magic circle and DC into center 10 times
Row 2- DC twice in each stitch around and join (20)
Row 3- CH2 and DC in next stitch, 2DC in next stitch, (DC, DC, 2DC in same stitch) repeat around and join (30)
Row 4-DC around in front loops only (30)
Row 5- Alternate FPDC and BPDC around and joinn (30)
Rows 6-10- Repeat row 5 making sure to stack FP and BP on top of one another (30) fasten off leaving a tail of about 12in.

Using your Plastic mesh, cut a rectangle made up of 58x17 squares. Wrap around and sew the first four rows of each edge together.
Use tail to stitch the plastic into place.
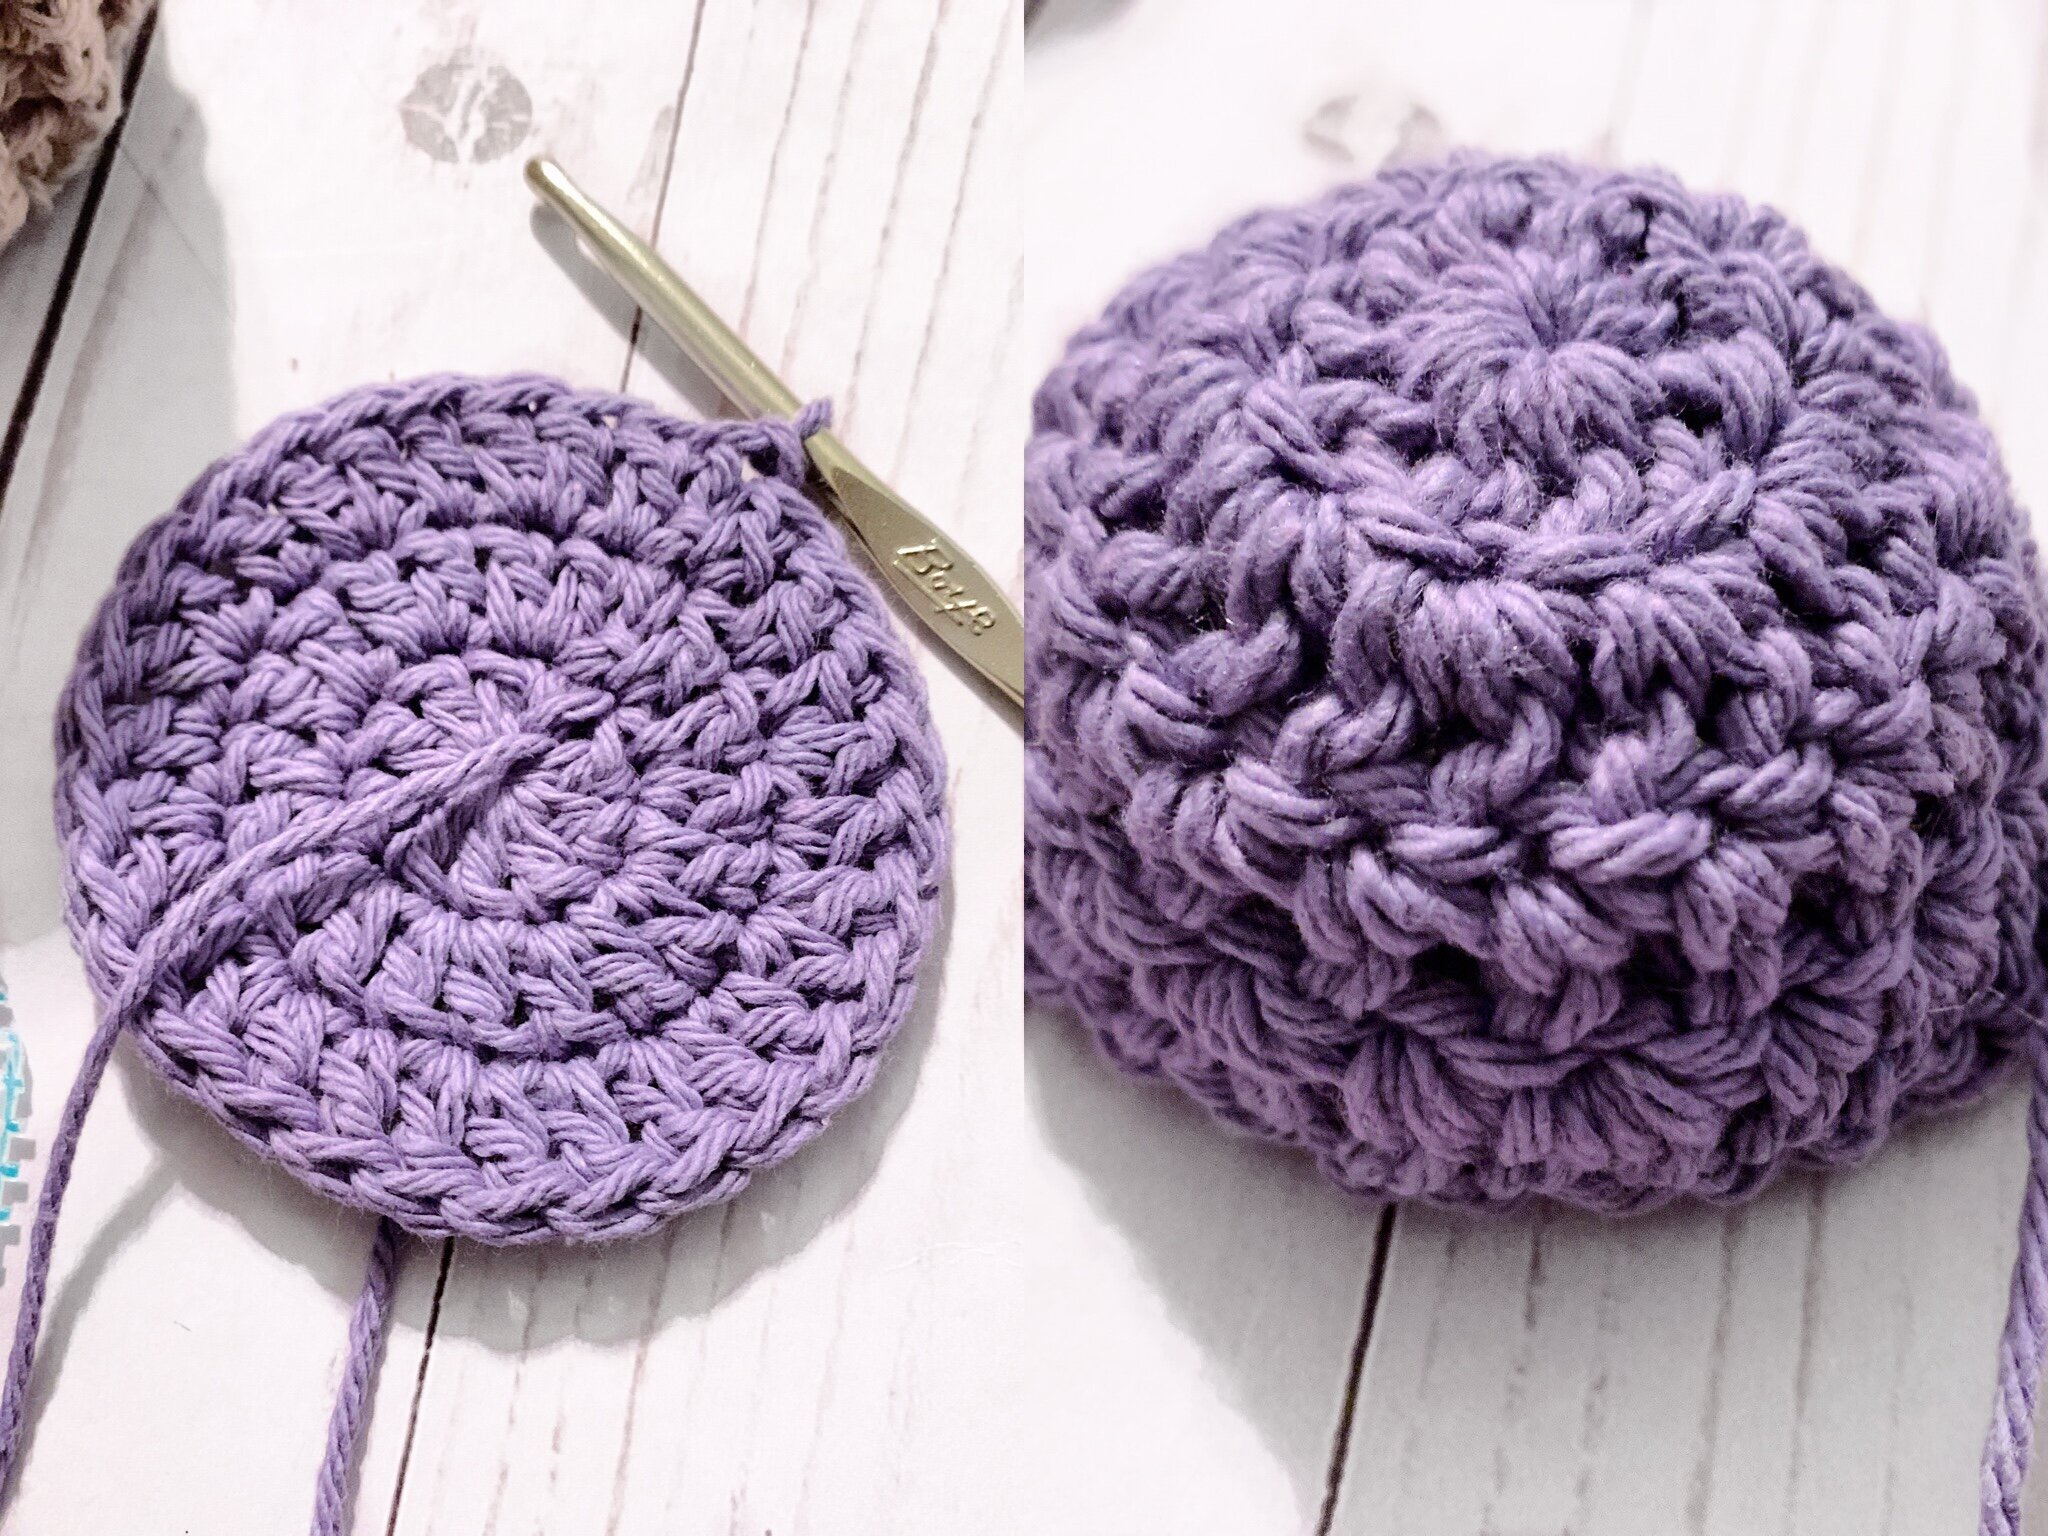

Icing Top:
Using purple yarn (or color of choice) Repeat pattern for Bottom rows 1-3, fasten off leaving a tail about 12in.
Cut a circle from your plastic mesh and sew onto piece you just just made using tail left behind and weave in end.
Magic circle and DC 10 times into center
Row 2- DC twice in each stitch around (20)
Row 3- DC once in each stitch around (20)
Row 4 - DC, DC, 2DC around do not fasten off

We will now begin attaching the top of the icing to the bottom of the icing.
To attach the two we will crochet them together using this method
stitch the top and bottom together SC, SC/DC/SC into same stitch, *SC, SC/DC/SC, into same stitch, SC repeat around until you have a small opening left to stuff with poly fill. After stuffed continue crocheting around. Join and fasten off, eave in end

Heart time:
Using Pink yarn Create a magic circle
Into center of magic circle CH 3, TRC 2x, DC 3x, Ch1, DC 3x, TRC 2x, CH 3 and SL ST into center. Pull circle taught fasten off and use tail to sew onto top of icing.
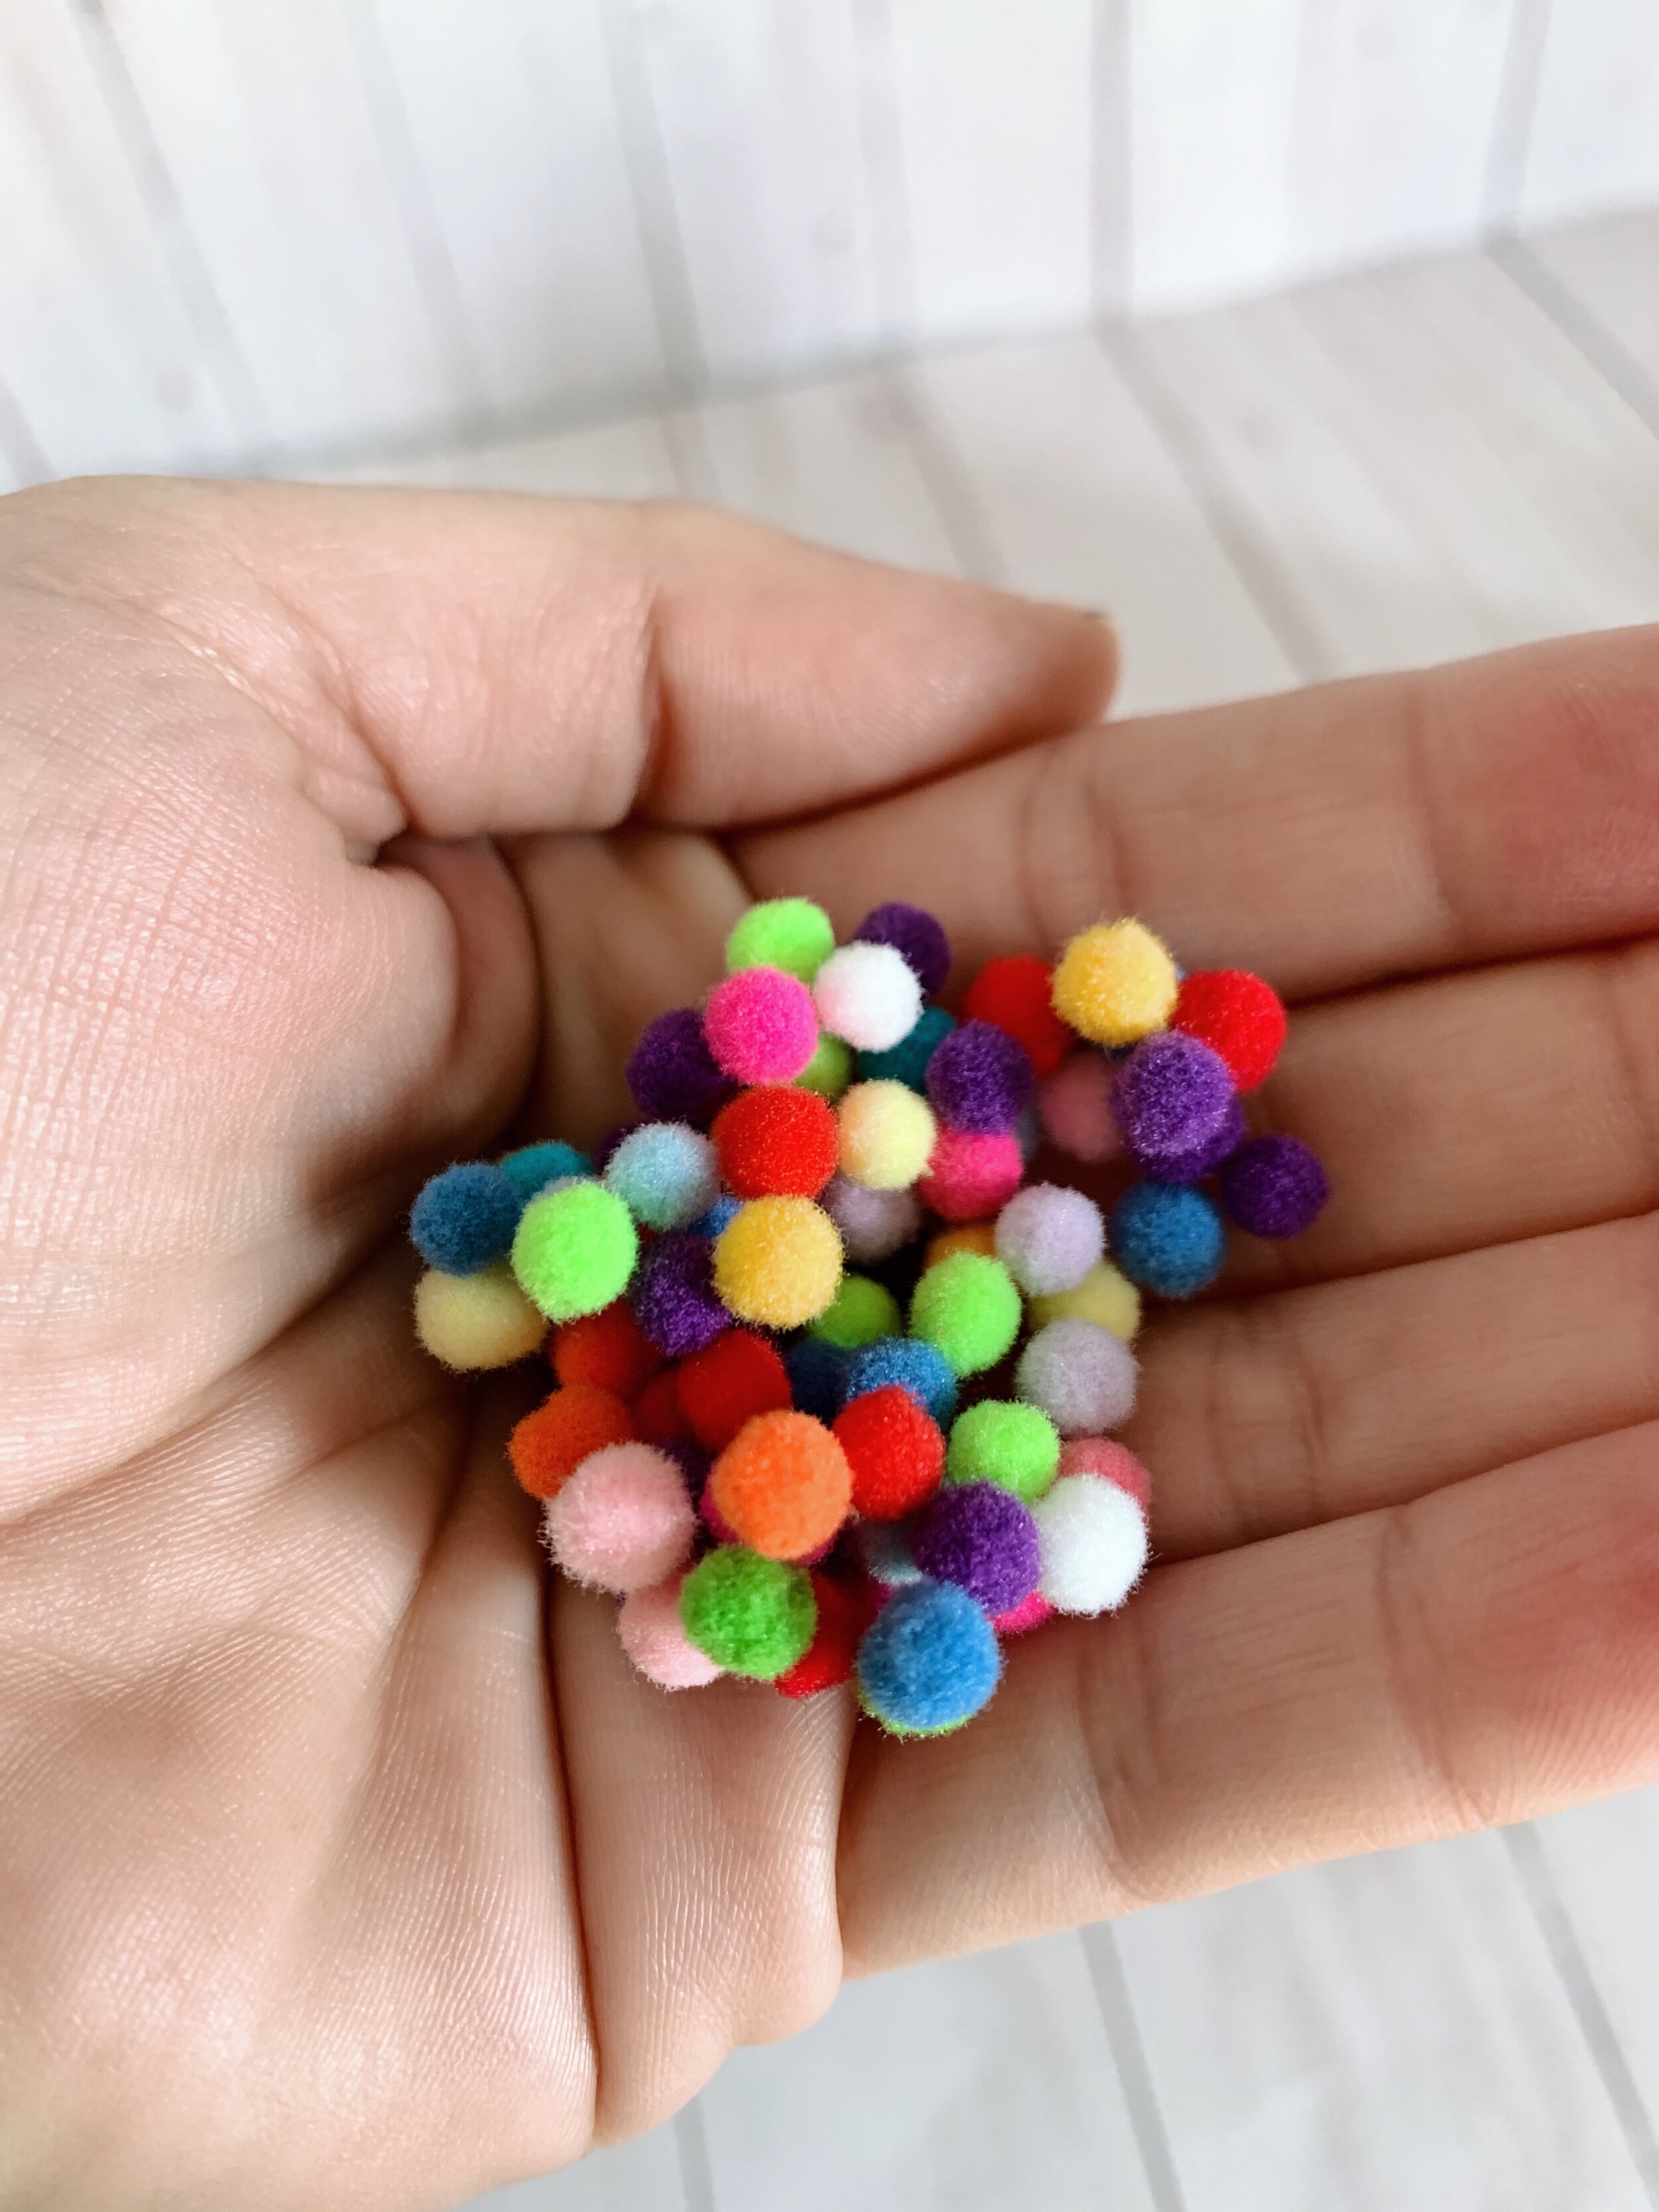
Sprinkles:
Using a tweezer and hot glue, attach to tp of icing.


And Voila cupcake candy dish!!!!!! ENJOY