Cables Hat Crochet Tutorial
Alright, first ever blog post, here we go....
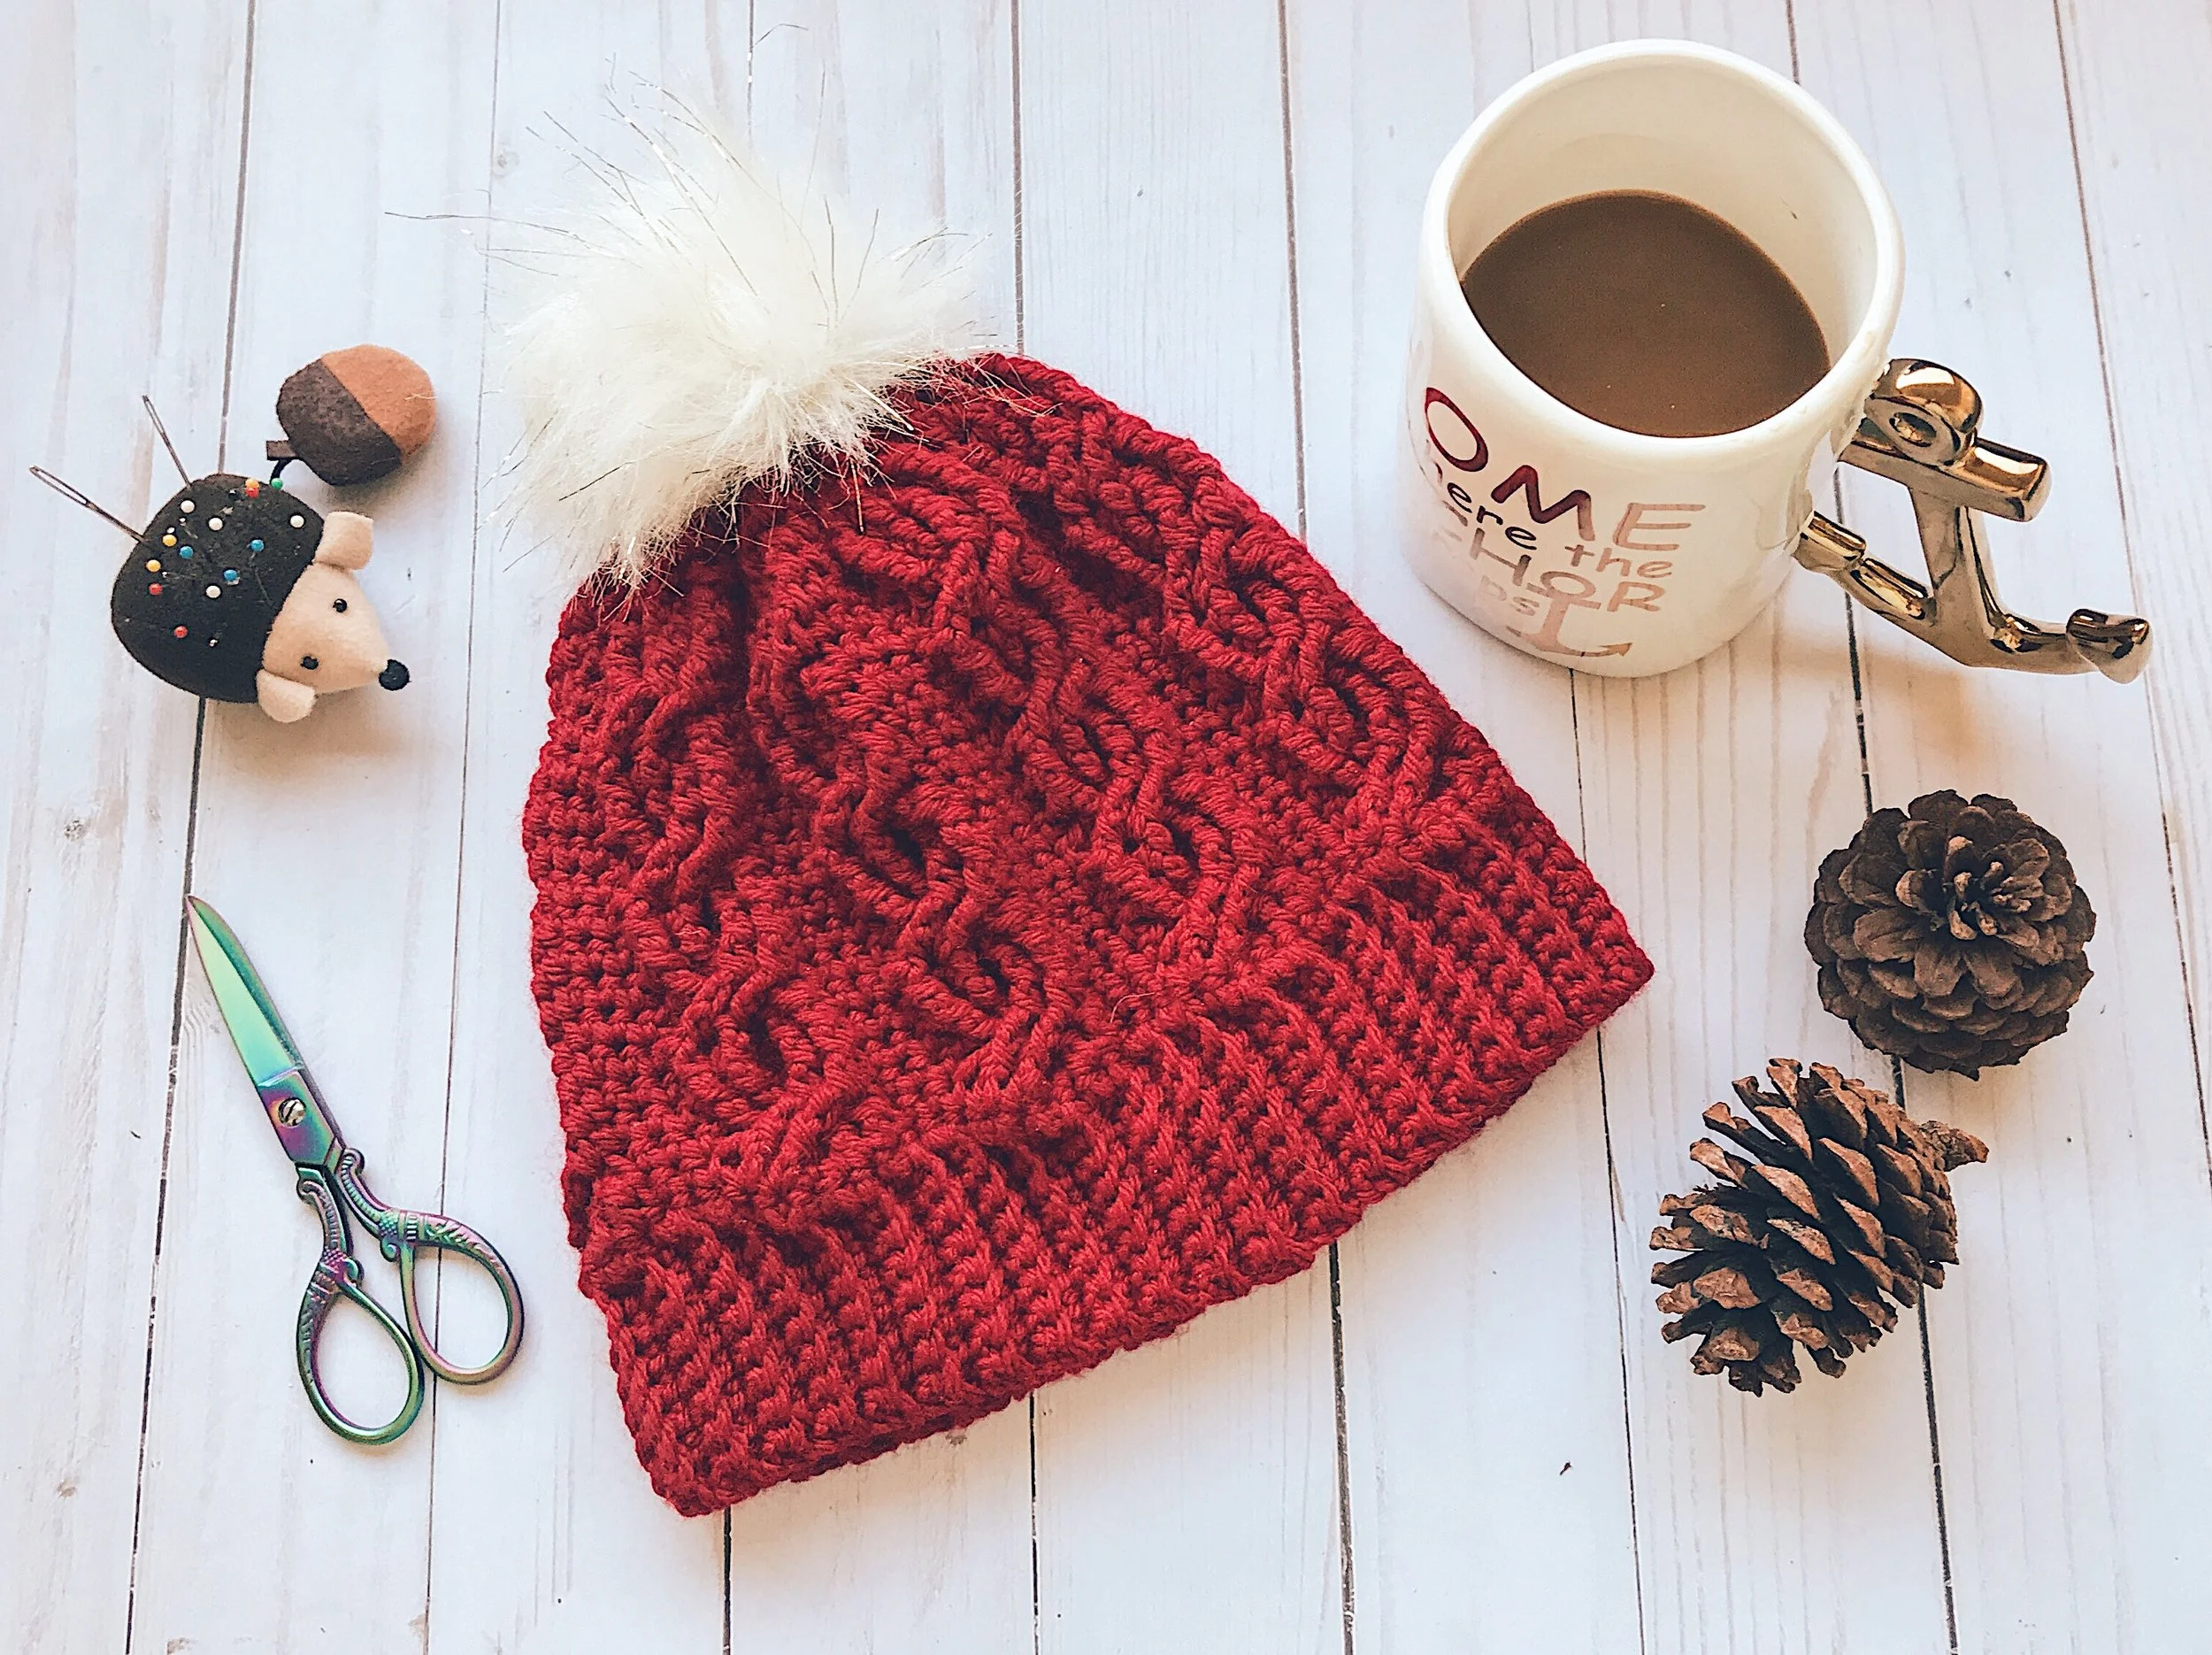
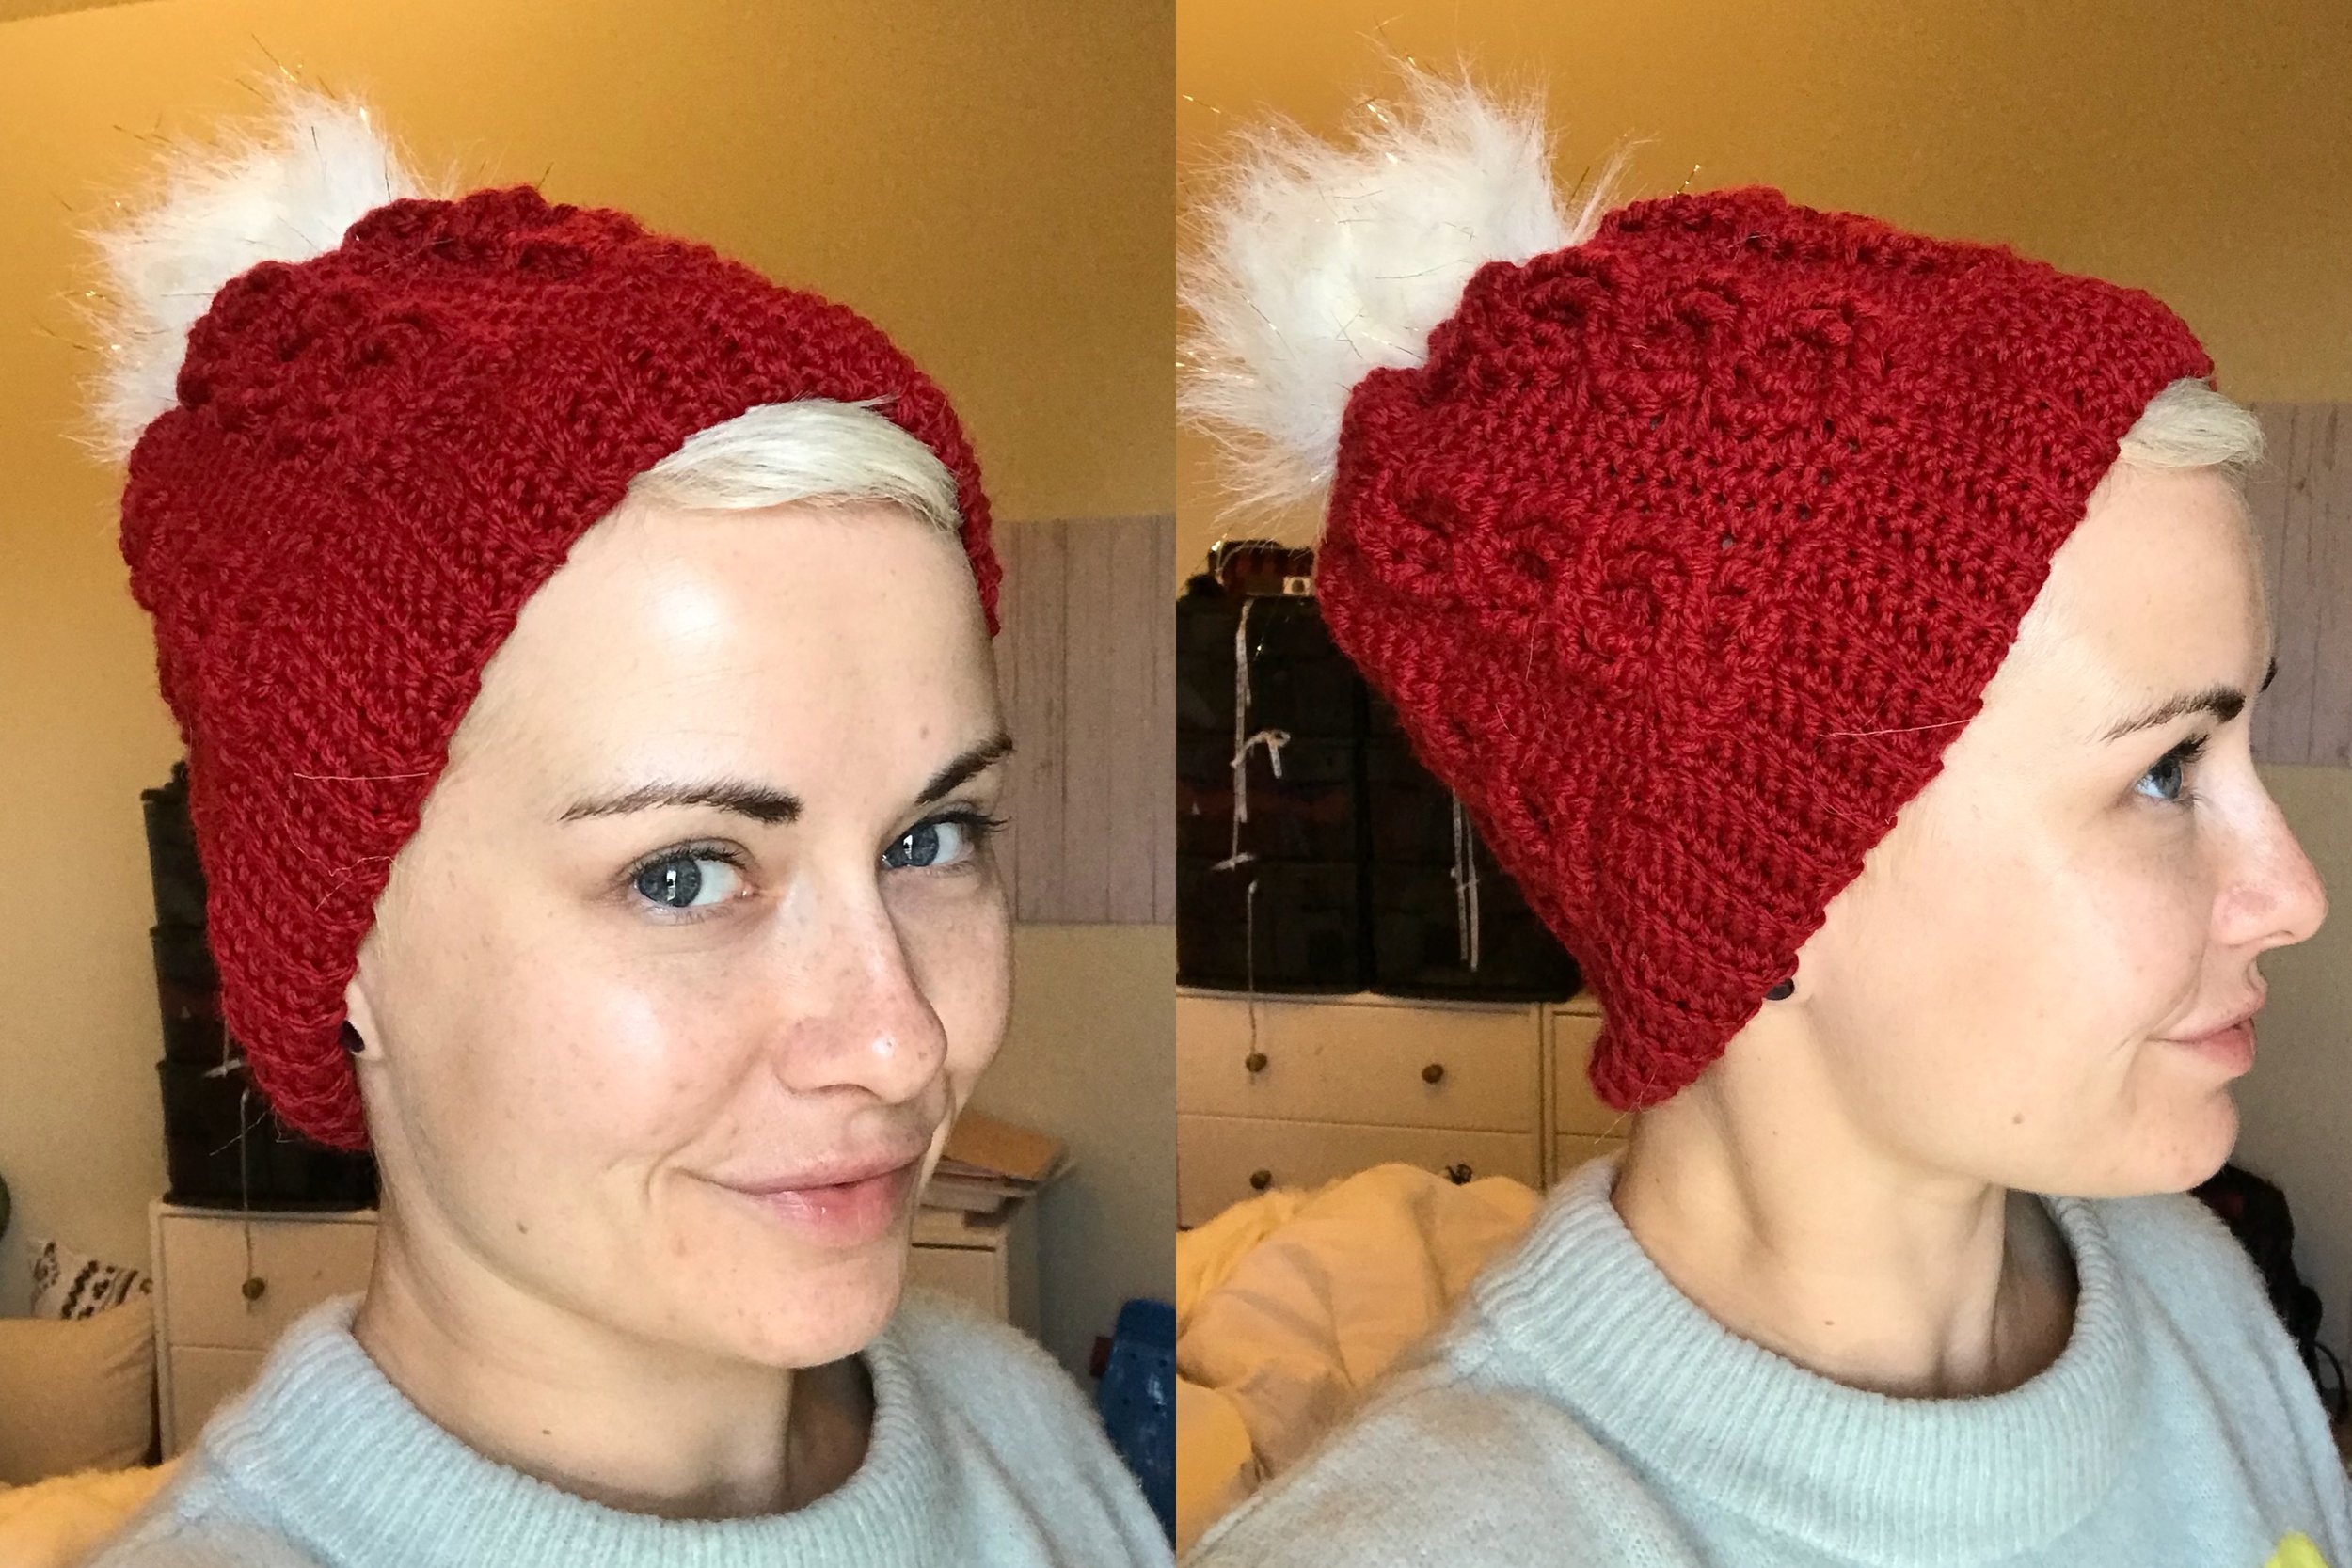
I'm going to show you how to create this simple cable hat that I designed myself. Hopefully I have put enough detail and photos in for you, if not feel free to contact me and tell me so.
Materials needed:
Hook size I (5.5mm)
A softer worsted weight yarn (I used Red Heart Soft Yarn)
Scissors
Yarn needle
Abbreviations:
CH- chain
STS- stitches
SL ST- slip stitch
SC- single crochet
DC- double crochet
HDC- half double crochet
FPDC- front post double crochet
FPTRC- front post treble crochet
Begin Base of Hat:
To start CH 10 and SC into 2nd CH from hook and across for 9 sts (9)
For rows 2-81 SC across 9 sts working in BACK LOOPS ONLY. This will create the ribbing effect.

Row 82- Now we will join rows 1 and 81 together using SL ST. Inserting hook into back loop of row 81 and front loop of row 1 and SL ST across. Do not fasten off.
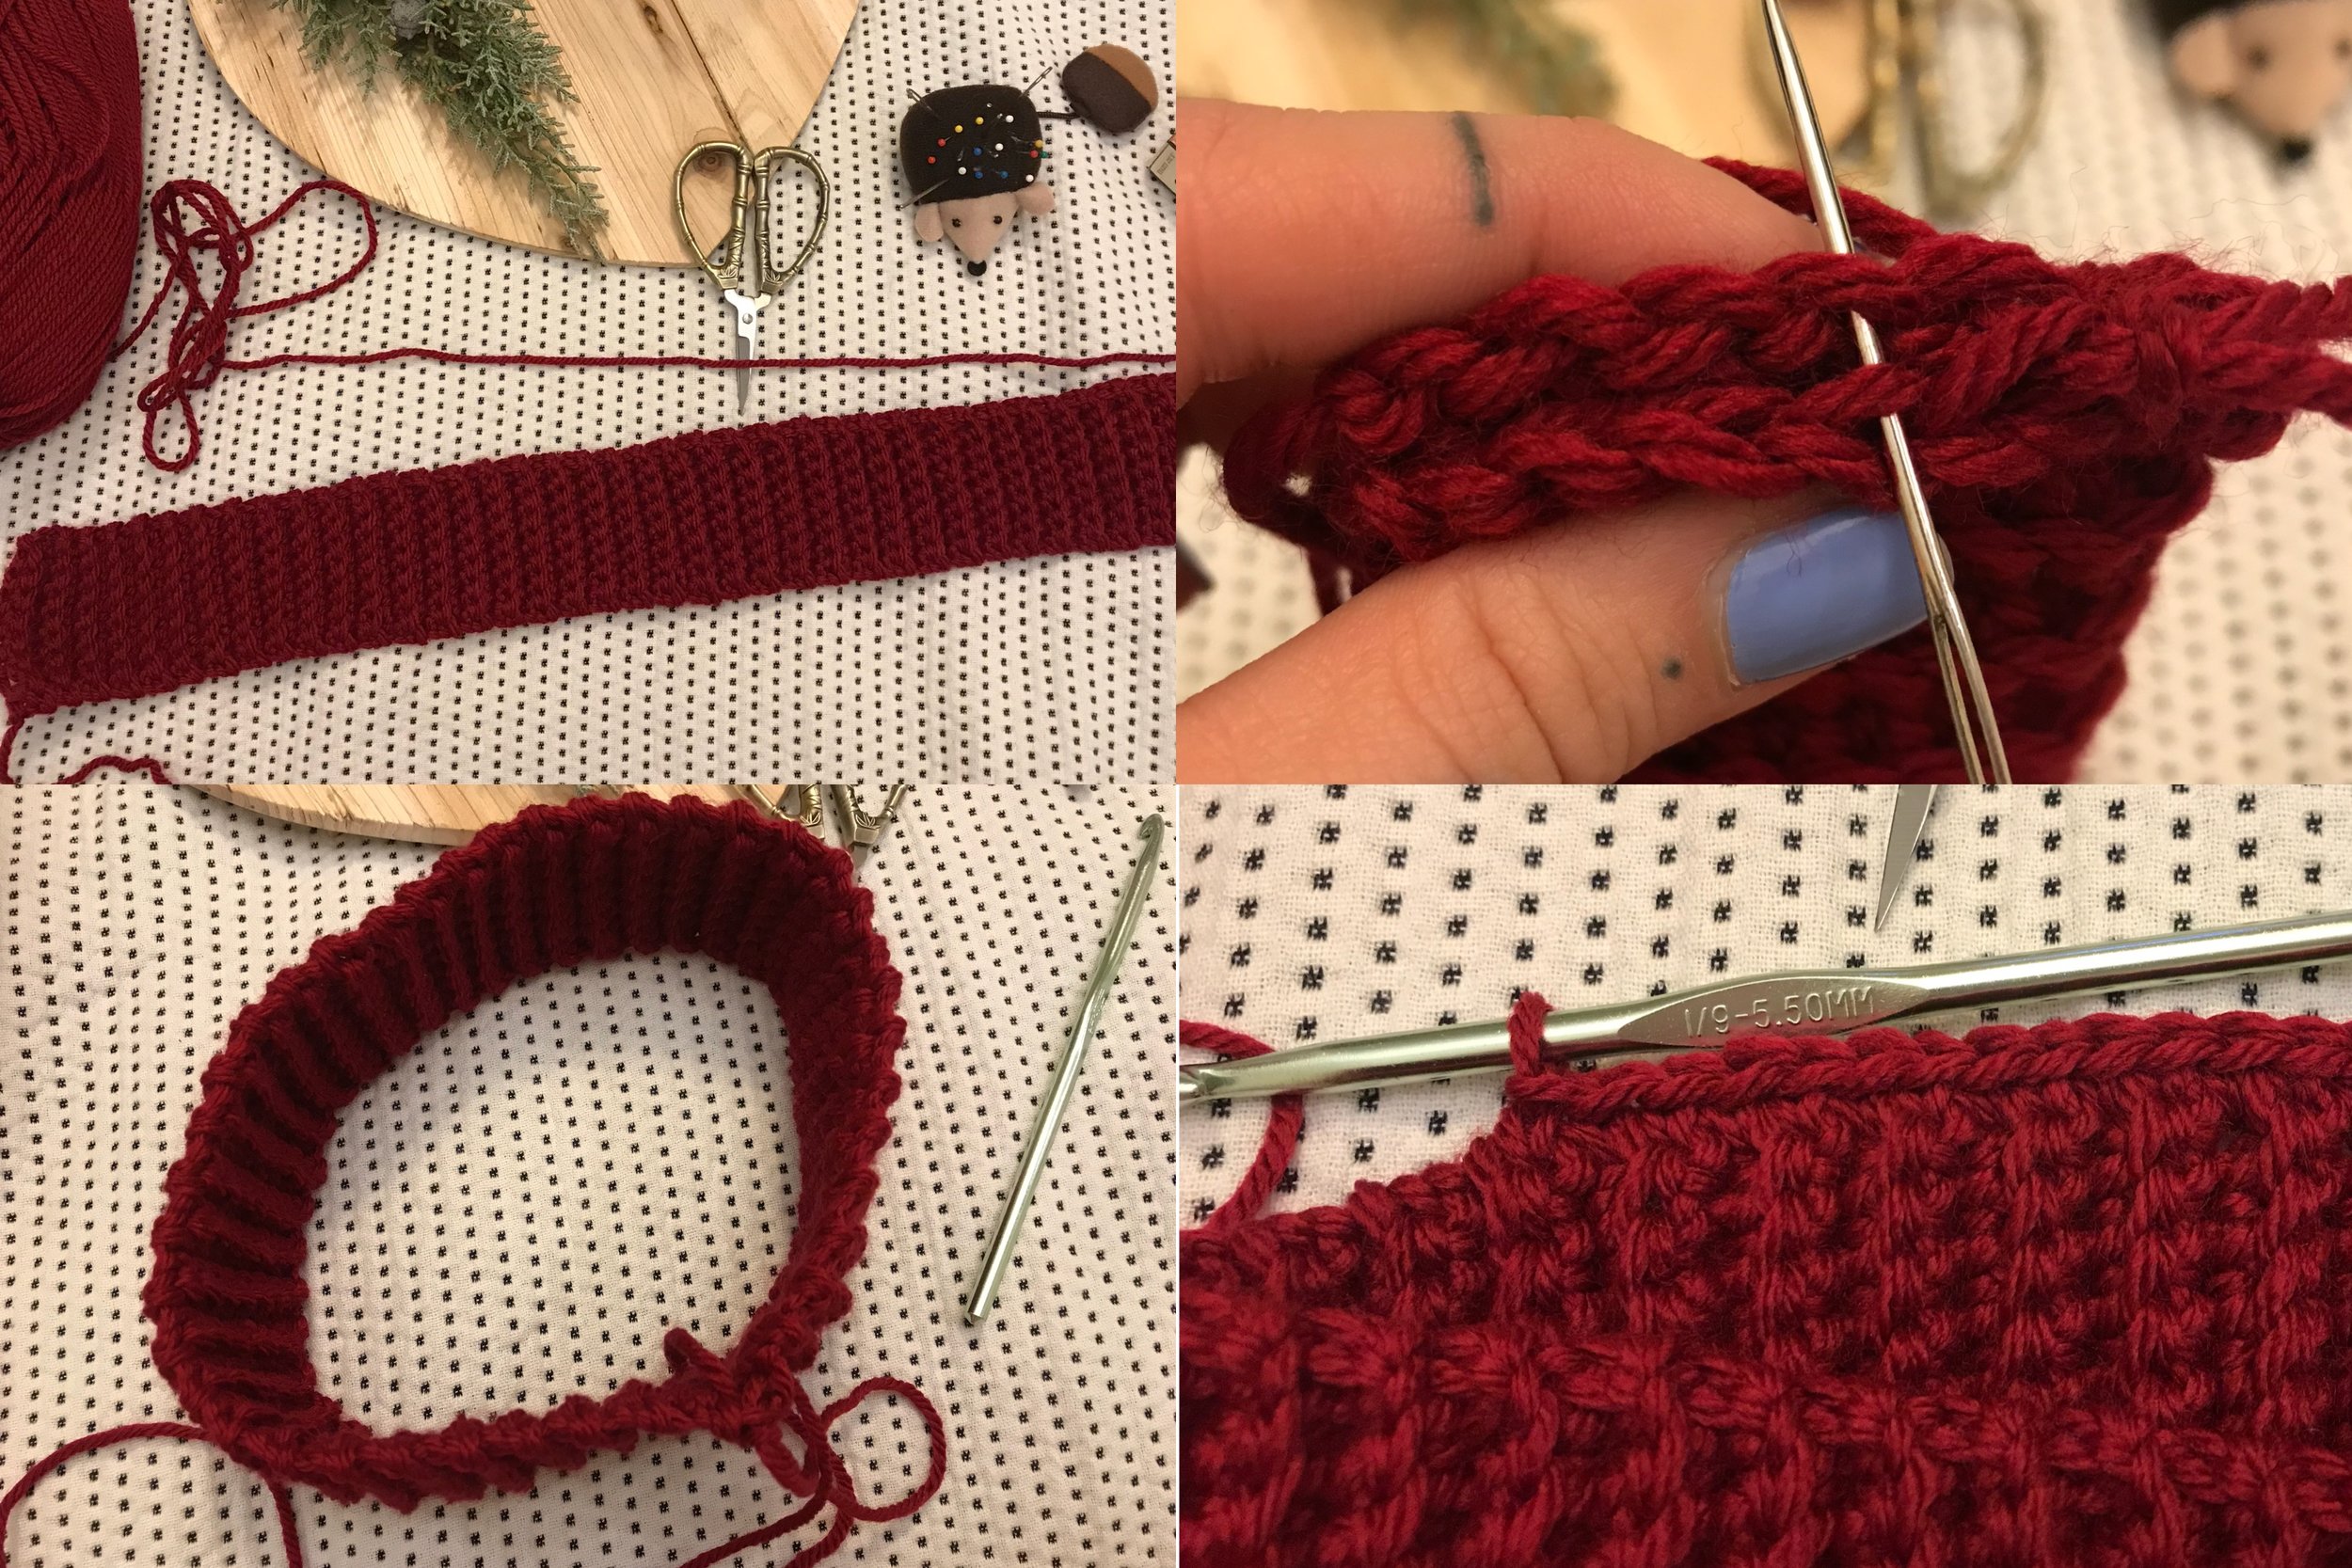
Row 83- You will SC in the ends of each row of the base, so SC around for 81 sts and join (81)
Body of Hat:
Cables are worked in one cross over row and three follow rows. Each row is a total of 81 sts until last two rows.
Row 84- CH 1 (counts as SC throughout work), SC, *6DC, 3SC (repeat from *) 1SC on last set then join
Row 85- CH1, SC, (Here you will create your first row of cross overs, below is a quick guide if you are unfamiliar with it) * skip 4 sts, FPTRC into next 2 sts, CH 2, (working on back side of work from you) 2 FPTRC into first 2 skipped sts, 3SC (repeat from *) 1SC in last set then join.

Row 86- CH1, SC, * 2FPDC, 2HDC in CH2 space, 2FPDC, 3SC (repeat from *) 1SC in last set then join.
Row 87 & 88- CH1, SC, * 2FBDC, 2HDC in center of previous HDC, 2FPDC, 3SC (repeat from *) 1SC in last set then join
for rows 89-100 - repeat rows 85-88
Row 101- repeat row 85
Row 102- repeat row 86

Row 103- SC2TOG all the way around. (about 40 sts) this doesn't have to be accurate we are just trying to draw in the size at the top.
Row 104- SC2TOG all the way around (about 20 sts) fasten off leaving a tail of about 8 inches.
using the tail weave it through every other stitch on the last row sinching the top of the hat closed. If you are not adding a pom pom do this step with the hat inside out.
Weave in ends and you're good to go.
Next tutorial....Poms Poms!!
Thank you for checking out my pattern
Please tag me in any posts and credit me with any sale items. Much appreciated! 🖤